Download and print Maripi test part
Printing
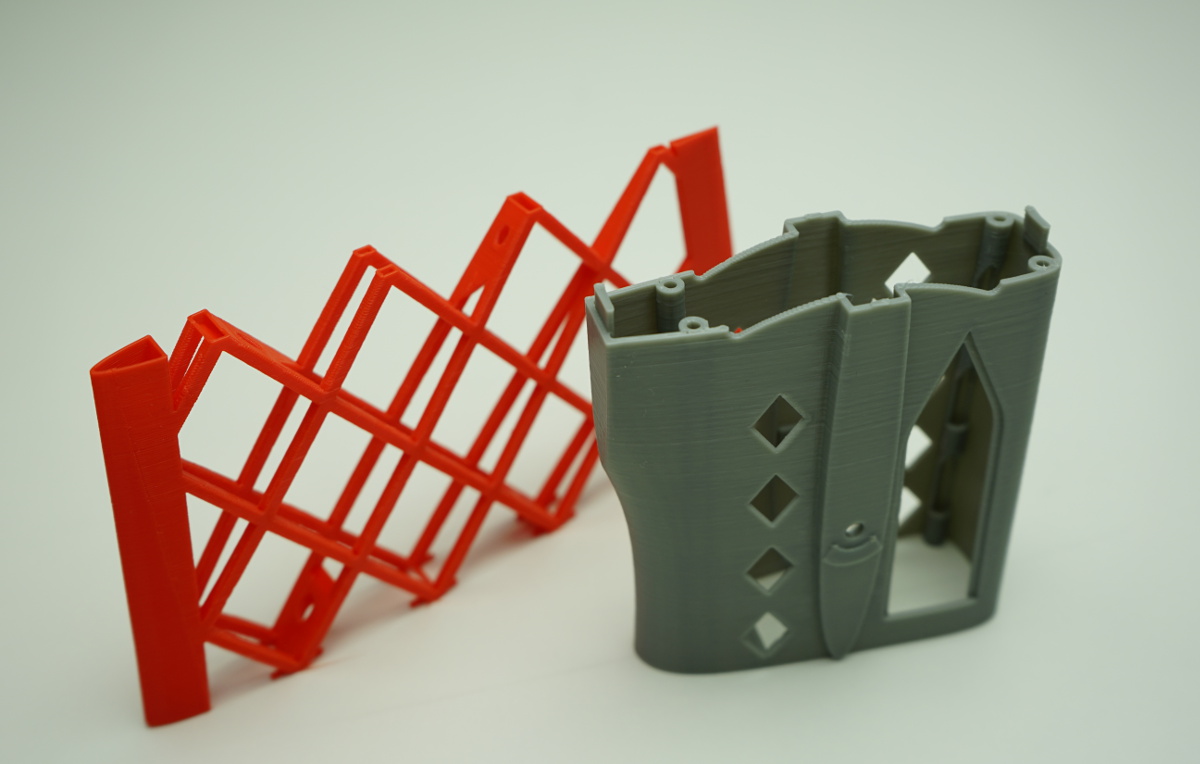
If you are able to print these two parts (part of horizontal stabilizer and part of the fuselage) you should have no problems to print also the rest of the plane.
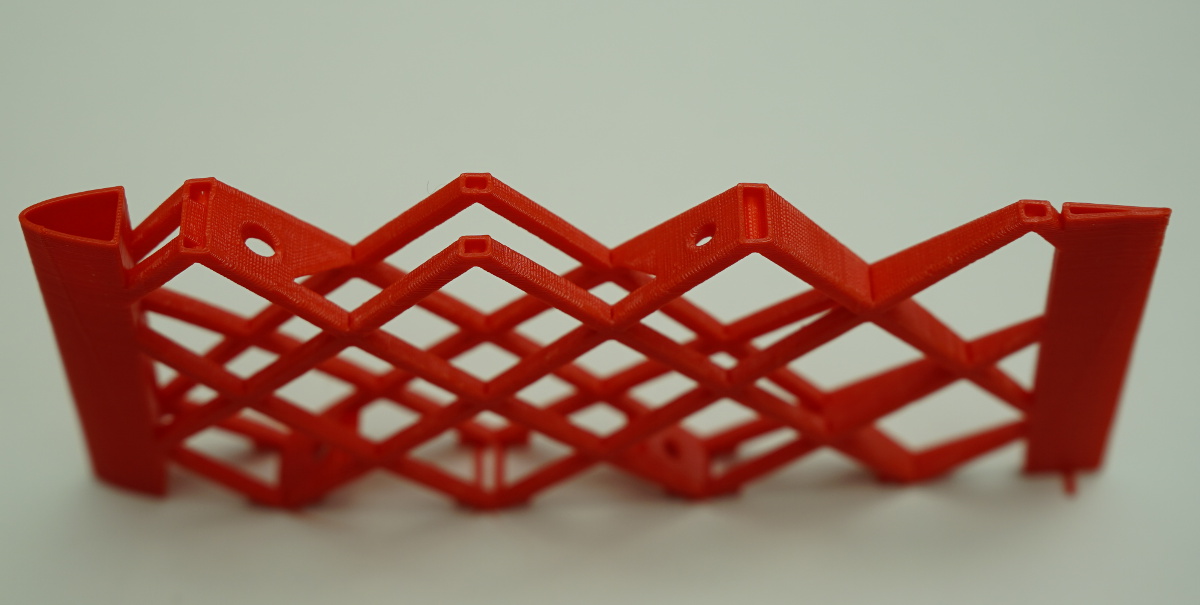
The red one has to be printed as shell - 0% infill and no horizontal surfaces (thickness of the shell is one layer).
Only this way you can achieve required weight of the plane.
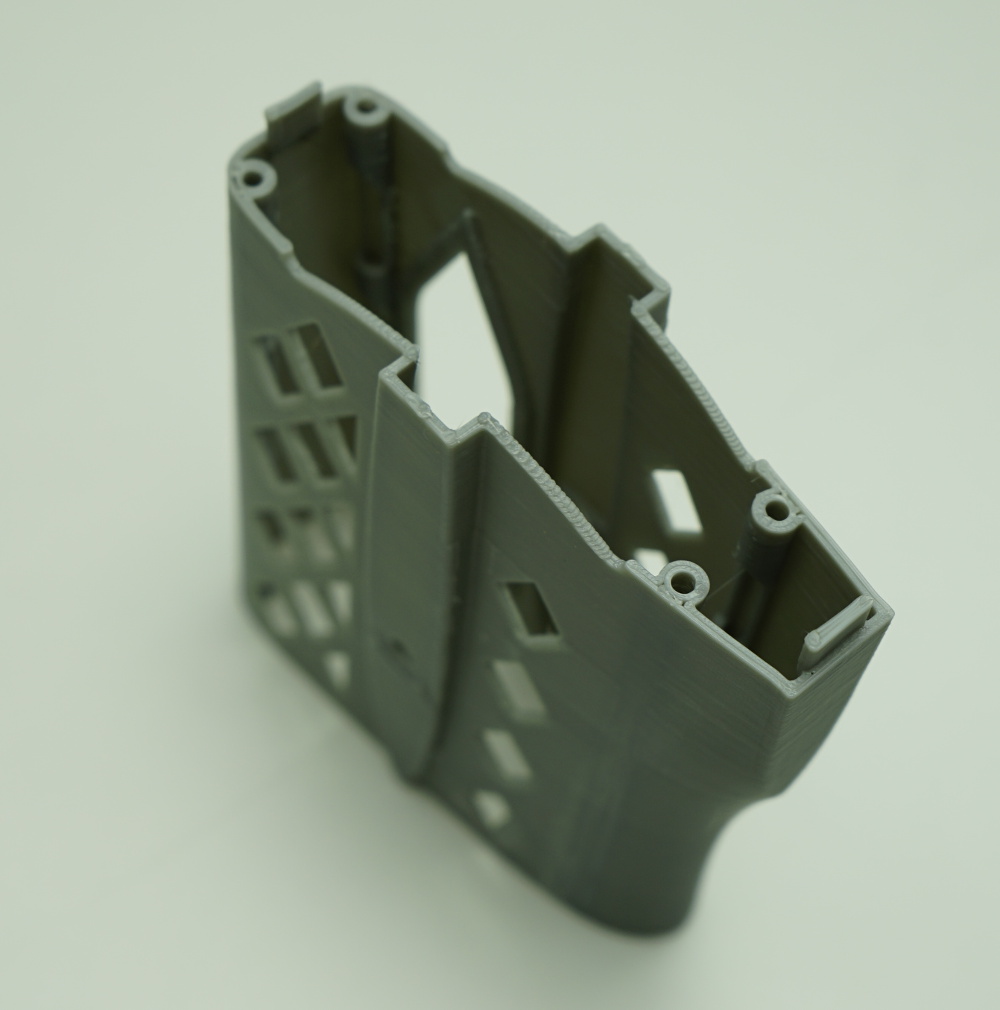
The grey one has to be printed as solid - 100% infill.
Nozzle: 0.4 mm
Layer thickness: 0.19 mm
Rafts: yes
Use the default orientation (check the pictures below) and whatever printing material (read mode in how to print).
You can also check what printing settings are successfully using other users.
Result verification
I strongly recommend to cover both parts with covering film to test if material of your choice will not deform from ironing heat. To find out more about covering check how to.
Red part should weight 8 g. The wall of the shell should be printed by one pass of printing head so that the shell is very thin. You should be able to fit carbon tubes with diameter of 3 mm and 2 mm into spar leading holes.
Grey part should weight 16 g and you should be able to fit carbon tube with diameter of 2 mm into all 4 spar leading holes. There might be small printing imperfections making it difficult to insert carbon spar all the way through the part but in written build guide I'm describing a way how to clear the holes using for example a spoke from bicycle wheel.